Showing posts with label Sewing. Show all posts

Tuesday, May 6, 2014

Sewing for Oliver!

Well that took slightly longer than I thought.  The biggest reason - our internet wasn't working!  Well I got that fixed today so here is the sewing projects I told you about. 

First I decided that since I cannot ever find "binky leashes" that I like I would just make them.  I ordered the suspender clips of Amazon a while ago (got to LOVE amazon prime).  These need almost no fabric to make and I didn't have any boyish fabric that I liked.  This gave me an excuse to go shopping at the fabric store.  Here is the finished product:

Basically I took a piece of fabric 4 in x 12 in, ironed the short ends in about 1/4 in, pressed it in half, then open it up and press each side into the middle and then in half again.  This hides the raw edges.  Then I added a piece of 1/4 in ribbon about 6 in in length folded in half between the layers on one end.  Then I topstitched all the way around.  I stitched over the ribbon several times to reinforce that area.  Then I slipped my suspender clip over one end and folded it back about 1.25 in and stitched to secure.  Add the binky and you are done.  You could also follow the tutorial here.
 
Since there is over 4 years between my youngest two babies there are things that are out now or at least more popular now then they were when my middle babe was born.  One of those things is the car seat canopy.  I had a variation on this given to me for my first but it is something that cannot be left on the carrier when not needed.  Well you can get one in one of three ways:  Buy one for about $50, get a coupon code and get one for free, or make one.  Well I looked into the free one and all the patterns that I liked they didn't have in stock.  :(  So I decided to make one!

Here it in on O's carseat.

With the front flap up.  I used the tutorial I found here.  It is great and easy to follow.  The only thing that I think I will do differently next time is make the straps slightly shorter.  And then last week it was really put to the test when I was going into a store and a lady that I didn't know tried to reach it, I believe that they only thing that stopped her is that she couldn't see him cause he was covered.  Also keeps rain sprinkles and the sun out of his eyes.
 
Then I thought, what do I do with the left over fabric?  Well I decided to try a wet bag.  What is a wet bag you ask?  A bag that holds wet things and doesn't leak.  This would be really handy for accidents and or bathing suits.  They are really popular among the clothe diapering crowd.  For this one I used iron on vinyl because I couldn't find white PUL.  I will give you a comparison of the two after I finish the second bag.  :)  Here is my first attempt.

 
The dimensions are approx. 6.5 x 11.5 inches.  The strap should be angled the other way and during testing the only leak I found was at the zipper.  I am going back to the drawing board on this and will let you know how it turns out.  I followed this tutorial for putting the bag together.

 
This is what the inside looks like.
 
That is it for now!  Mother's day layouts coming soon!
 
Happy Crafting!

Wednesday, July 3, 2013

Window Seat! DONE!

Ok so I made a major milestone today:  I finished the pillows for the window seat (learn more here and here).  I picked up some coordinating fabric this morning and finished sewing them this afternoon (I love Summer).  I still need to get books out of the basement and onto the shelves but that is going to take me forever!  So here is the final (?) touch to the seat:
Here are the pillows that I did today!  I meant for the squares to be the same fabric and the long on to be the other but I had issues with my fabric cutting, see below.

Here is the lovely seat (at least I think so) with the pillows.

Close up of the fabrics all together.


I used the directions here for the square pillows, it was really easy to follow and came out looking great.  However, this is where my measurements were off.  She says to make the length 1.5 times the length of the pillow, well I had an 18 in pillow so I figured 27 inches.  So I got 1 yard of the floral fabric for 2 square pillows (27x2=54 width of the décor fabric bolts), and 1/2 yard of the paisley for the long pillow.  Well I started to cut out my fabric and I realized that the 36 inches barely provided for any overlap, and I was lucky because she cut the paisley at 19 1/2 inches instead of 18.  So if you try this at home I would do 2.5 times the width of the pillow form, which is what I ended up doing.  On a side note until 7/7/13 Joanne Fabrics has the 54 in décor fabrics on sale for 50% off.

For the long pillow I used the general directions found here.  However, I made my own piping following the techniques that I used on the cushion not on the bias.

I hope that you are enjoying this rainy day.  There will be another post today so stay tuned!!!!!

Emily

Friday, June 21, 2013

More sewing

Happy Friday!

I am so glad that it is summer!  Well here it is the end of the first week of my summer vacation and I have accomplished much. 

First, Daughter had her birthday party at the local community pool and it was great!  Afterwards we opened her presents.  One of which is the sewing project that I wanted to share with you today.  Warning, these were completed from a vague idea in my head and I couldn't find a tutorial online with directions.  I also just used scrap fabric and Velcro that I had laying around, and whatever thread was already threaded in the machine. 
Bandages!!!
 For her birthday, Daughter wanted a play doctors kit.  She had one a long time ago but it has been missing pieces for years.  Anyway, she got a Doc McStuffins doctor bag complete with magical stethoscope.  If you do not know who Doc McStuffins is you should check her out on the Disney Channel, she is cool!  But we have always had the issue of using baby wipes and tissues for bandages because everything feels better with a band-aid!  So these were included in her doctor kit.

I found some white muslin in my fabric stash ripped them into various sizes and then sewed Velcro at key points and then zig-zag stich around the outside to keep the layers together.
Here is one of Daughter's new toys with a bandage on her leg.  Must have been rough in that box!
 
 
Second, I have been busy cleaning and organizing and planning above party.  But I feel like this is enough for one post so I will talk about those next week.
 
Emily

Tuesday, June 18, 2013

Sewing up a Storm

Hello,

Officially it is summer break but with the threat of rain and the cooler weather it really doesn't feel like it yet.  However, with our family vacation just days away I am really looking forward to a break.

This is a shout out to all my fellow consultants who are at Convention, bring me back some goodies?

I am sorry that I have not posted in a while it has been busy and I have been trying to finish a couple projects.  First off I am a decent seamstress.  I can get by most of the time with some directions, but I am not adventurous.  So when I purchased my fabric for the cushion cover for the window seat that my husband made for me, I was extremely hesitant about cutting into it.  I had to work up my nerve.  :)  And because of that it has taken forever.  I still need pillows and with birthdays and our vacation I am just not going to get it done this week so here is a preview of the cushion and I will post again when the whole project is all completed and picture worthy.  I found a great tutorial for the piping and the construction of the cover by Pretty Handy Girl.

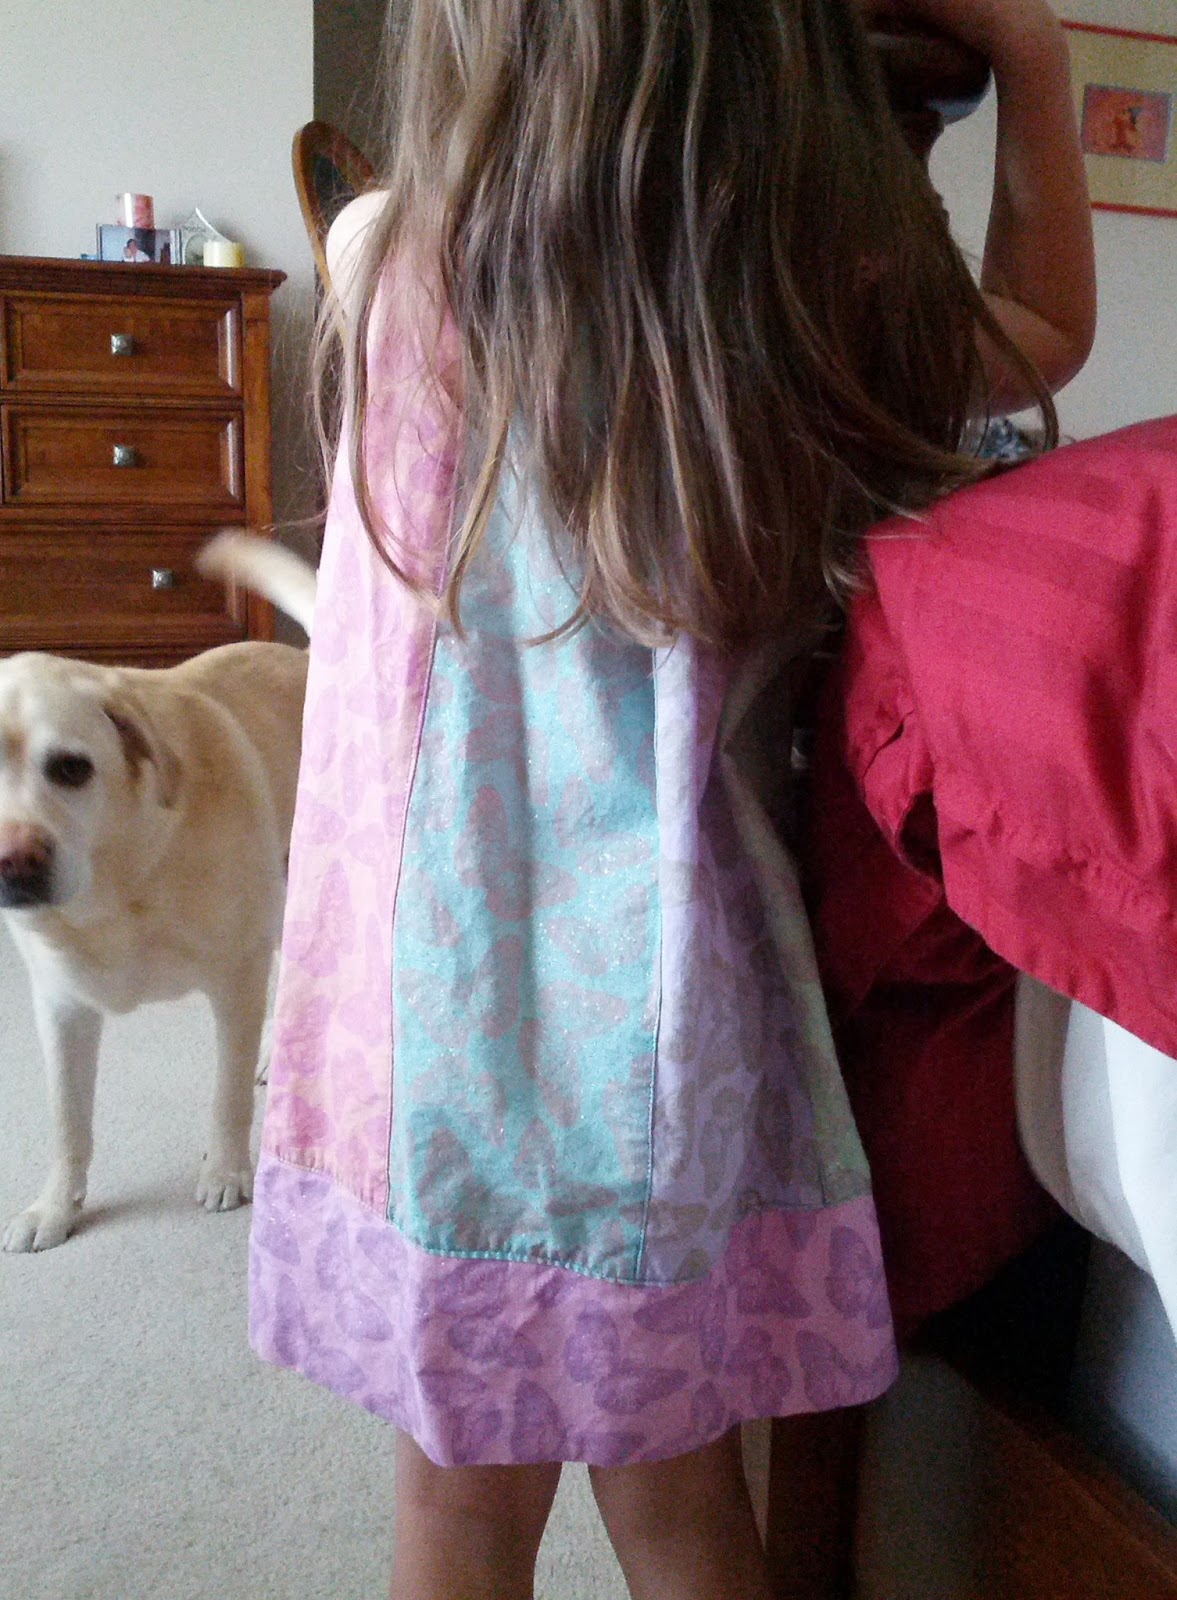
Usually my sewing machine lives in the closet of my craft/scrapping room.  So when I do drag it and all the paraphernalia out I like to get a lot done.  I have been meaning to try my hand at a dress for Daughter for about a year.  I found a tutorial online by The Mother Huddle and fabric the Daughter picked out and then school started....  So while my sewing machine was out I tried it.

Just a cute little pillowcase dress from a fat quarter bundle.  It doesn't come through in the picture but Daughter liked the fabric because the butterflies are glittery.  Here is the front.

Back.  Sorry about the nosey dog in the background.

This was when I said "pose"!  She is such a Ham sometime.  Well after I had finished her dress, I actually had enough left over for a doll dress.  I had no measurements like for the kid version but I was feeling adventurous so, Daughter's American Girl Doll got a dress too.  Now, I am not happy with it completely.  It is too tight but it was a lot of work to take out the seams and "let it out". And Daughter was happy with it the way it is.


I will post again before the end of the week.  I have Father's day cards and another sewing project to share with you.

Emily